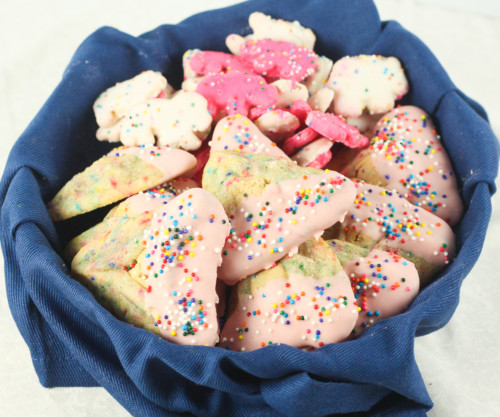
Circus Animal Cookie Hamentashen
March 2, 2017
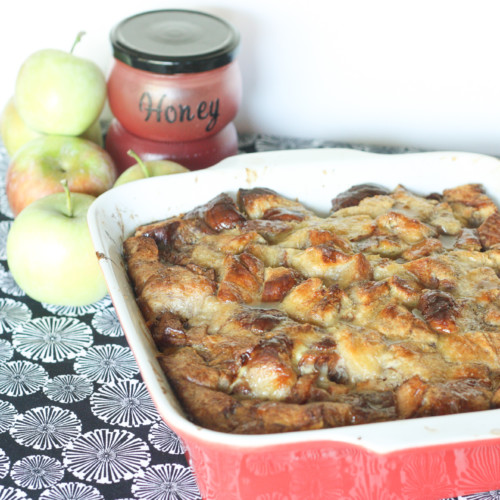
Apple and Honey Bread Pudding
September 21, 2016
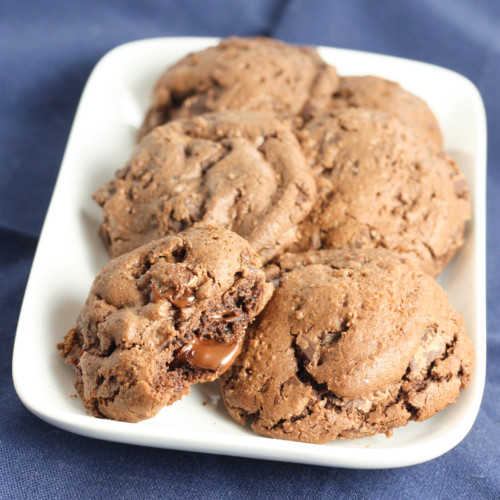
Double Chocolate Passover Cookies
April 14, 2016
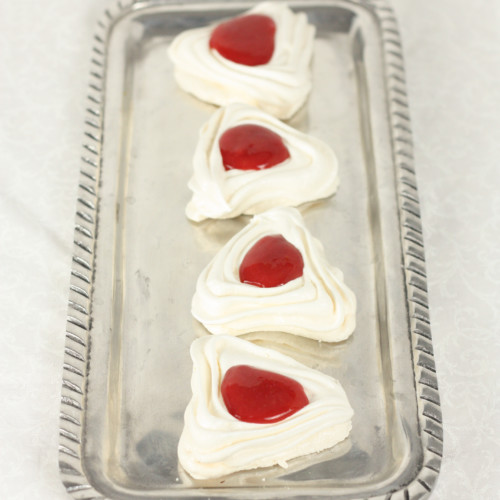
Strawberry Lemon Meringue Hamentashen
March 15, 2016
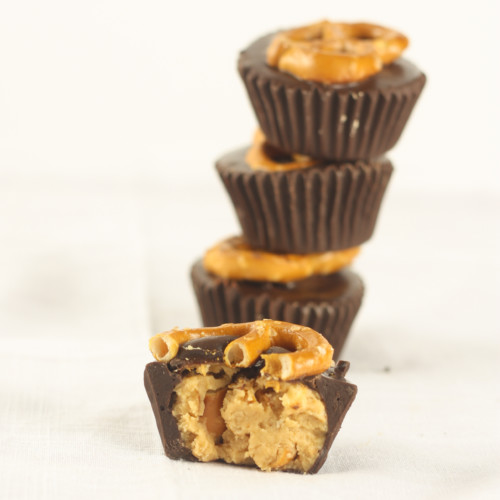
Chocolate Pretzel Peanut Butter Candy
March 11, 2016
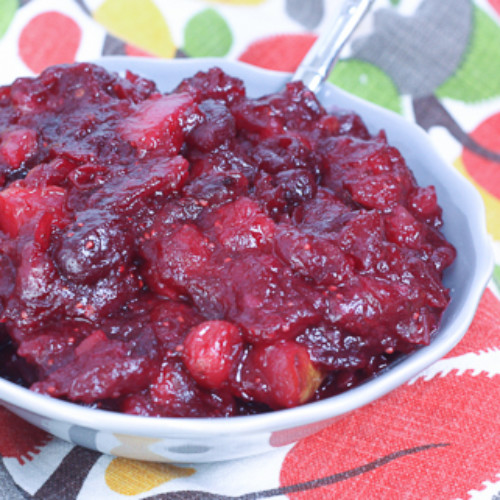
Cranberry Pear Lime Sauce
November 26, 2015
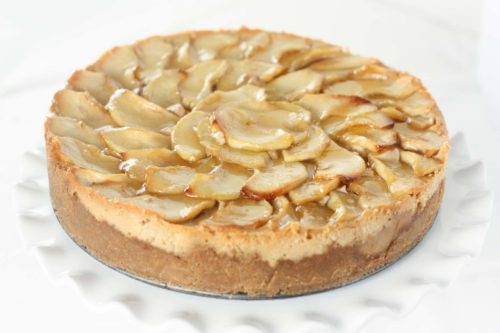
Apple and Honey Cheesecake
August 16, 2015

Strawberry Mint Lemonade Cocktails
August 10, 2015
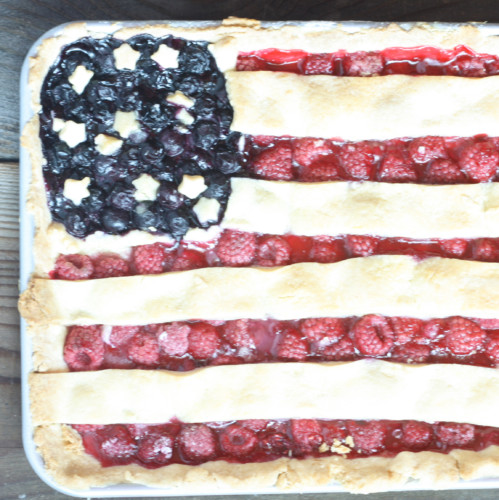
American Flag Slab Pie
June 25, 2015
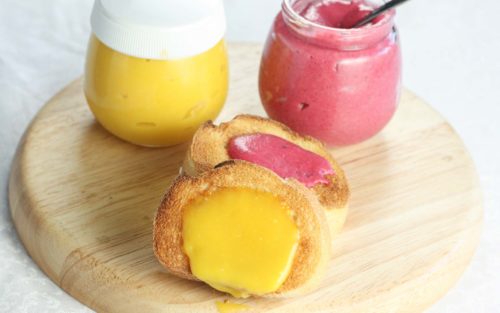
Rhubarb and Passion Fruit Curds
June 11, 2015
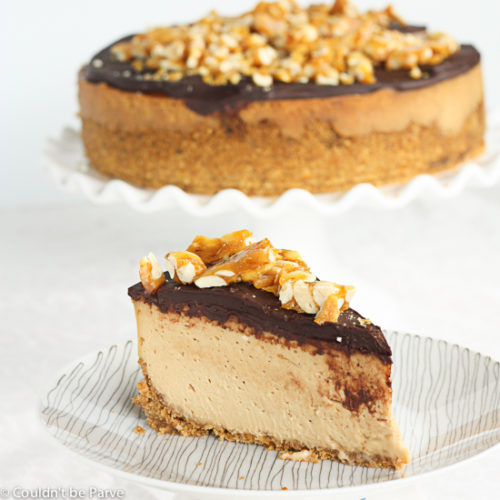
Peanut Butter Cheesecake with a Pretzel Crust
May 20, 2015